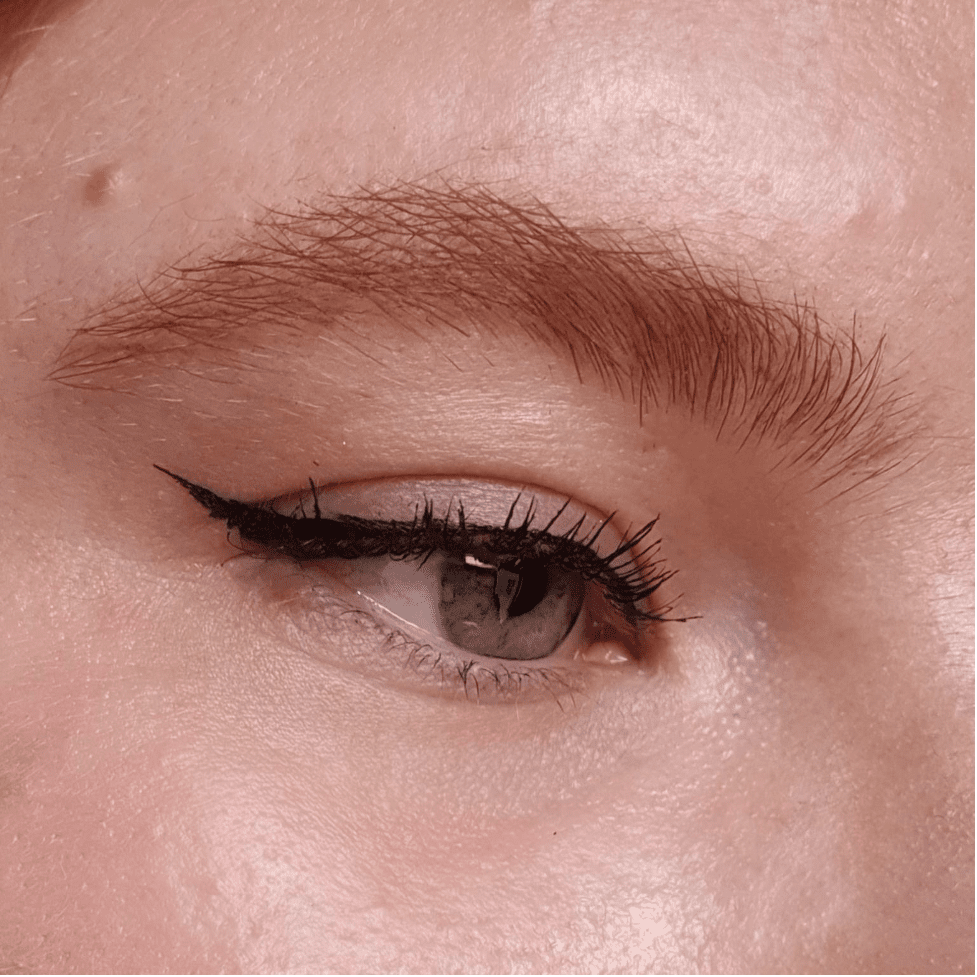
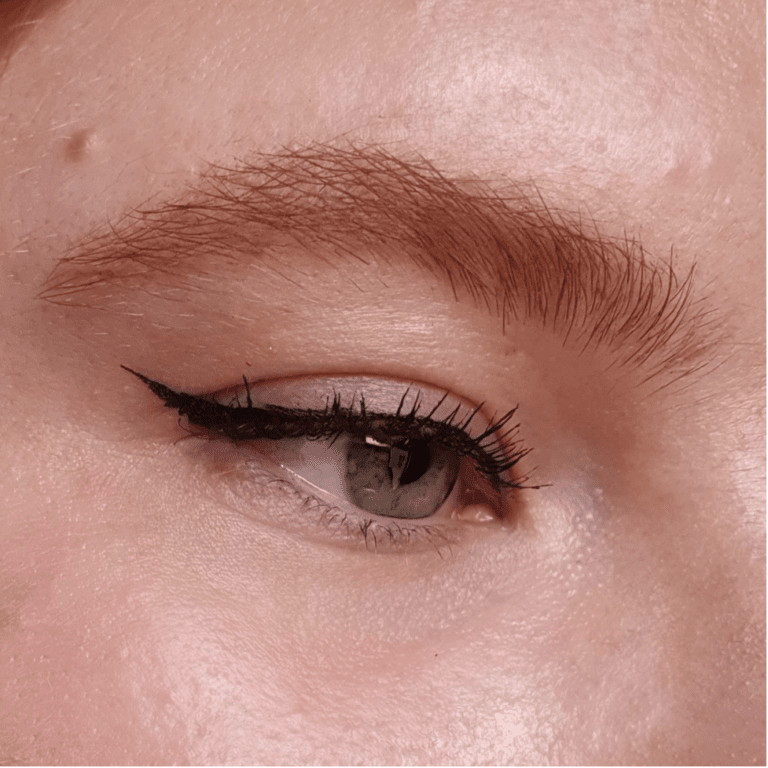
Eyeliner looks – Tips and Tricks to Help You Rock Your Wings

Eyeliner has been around for a very long time. It goes back to the ancient Mesopotamians who used it to protect their eyelids from the sun. However, our eyeliner looks have come a long way in the past several thousand years. In 2022, eyeliner is a tool for self-expression and the possible looks are endless. So with infinite eyeliner looks and products to choose from, selecting one can feel overwhelming. In this post, I will walk you through the different types of eyeliners, how to use them, and show you how to create some of my favorite classic and modern looks.
Eyeliner Safety
Before we dive into eyeliner looks, let’s talk about safety. In order to protect the health and wellness of your eyes, be sure to choose an eyeliner free of potentially problematic ingredients. Cosmetics can contain a variety of potentially irritating compounds including the most commonly used preservative: parabens. While preservatives do a great job of ensuring bacteria and other microbes don’t grow in our cosmetics, there have been studies that explore the potential ill effects of parabens on the immune and endocrine systems.
There are preservatives that are banned in EU and the ones that are approved. Unfortunately, FDA doesn’t regulate cosmetics and personal care products as good as EU does. It is always a good idea to opt for vegan skincare and makeup, for ethical reasons and to avoid potential allergies coming from animal-derived ingredients.
Our eyes are vital to our everyday life, so choosing products that support our overall health is crucial. With clean skincare and consumer consciousness on the rise, finding non-toxic products in mainstream retailers is easier than ever. Gone are the days of sacrificing performance for sustainability and health.
In addition to choosing products with healthy natural ingredients, it is important to clean your tools and throw out any expired products frequently. Another important thing is to nourish and moisturize your eye area – one of the best organic and vegan eye serums is Plant Mother’s plant-based eye serum.
Which tool is right for your eyeliner look?
Walking into any makeup retailer from Sephora to RiteAid looking for an eyeliner only to find a thousand different kinds can be overwhelming. There are felt tips, brush tips, kohls, gel pencils, gel pots, and a seemingly endless choice of colors. This section will break down exactly what technique each formulation is best used for.
Beginning with the most versatile formulation, we have the gel pot. Gel pot eyeliners are great because they can be used in place of almost any other liner. The downside is that they require a separate brush and are prone to drying out. Gel liners can be placed in a thin line along the lash line, smoked out, winged out, or even used to tightline the upper lash line. They also come in a variety of colors so don’t be afraid to play!
Brush and felt tip liners are both ink-pen eyeliners. The primary difference between them is that brush tips are more flexible and felt tips are firmer. Neither is necessarily better than the other, it’s a matter of preference when it comes down to it. I prefer brush tips because I find the flexibility allows me to be more precise with my eyeliner looks. However, I know many people prefer the firmness of a felt tip because it allows them to get cleaner lines for eyeliner looks. Both types of ink-pen liners are perfect for creating wings and graphic eyeliner looks, but cannot be smudged out.
Kohl or pencil eyeliners are the most common types of liner. They’re super easy to use and don’t require an additional brush. They can be used to create really dramatic and smokey eyeliner looks or natural ones. Pencil eyeliners usually come in black or brown, but you can find pretty much any color imaginable.
Tips and tricks for achieving your best eyeliner looks
- I know it’s tempting, but DO NOT PULL YOUR SKIN when doing a winged eyeliner look. Excess tension on the skin causes it to lose elasticity and leads to premature signs of aging. Additionally, the wing can appear distorted and imperfect when you release the skin after drawing on it. It’s better to work with your skin than against it!
- When doing any eyeliner look, I get the best results by looking straight into the mirror while doing my liner. That way, I draw my eyeliner on resting eyes instead of posing ones. This helps your eyeliner look good in real life instead of just photos.
- Color is for everyone. Every color is for everyone. A 23-year-old and a 92-year-old can both rock everything from electric blues to natural browns. If you like it, then wear it and wear it proud!
- If you want to enhance your eye-color with an eyeliner look, choose a liner that sits opposite your eyes on the color wheel. For example, my eyes are green so I use reds and purples. Coppers and oranges are my favorite for blue eyes, and blues really flatter brown eyes.
- Say you really want to do a hot pink eyeliner looks, but you don’t have a hot pink liner and you can’t find one. Dampen an angled brush and use a hot pink eyeshadow! Using shadows as liners can be more economical than buying novelty colors and creates less waste.
- Use a flesh-toned eyeliner in your waterline to make your eyes look bigger, rounder, and more awake.
1. The Classic Flick

This eyeliner look is super simple and appropriate for just about every occasion! I recommend using an ink-pen liner and starting at the outer corner of your eye. Flick your liner upward following the angle of your lower lash line. If you mess it up, don’t worry! I always use Q-Tips to clean up my eyeliner. If you have hooded eyes like me, make sure you employ tip 2 to keep your eyeliner looking continuous.
2. Blue Glitter Liner

This eyeliner look is simple but very fun and extremely easy! Just take a blue (or any color) kohl pencil and shade along the top 3rd of your lash line beginning at the outer corner. Then, take a Q-Tip or small brush and smudge it out. Finally, repeat the process on your lower lash line. You can also use eyeshadows for this technique. If the product you use doesn’t have glitter in it, press a glitter eyeshadow or a glitter liner over the top of your eyeliner to complete the look.
3. Straight Liner

This eyeliner look helps elongate the eye for a sexy look. As opposed to the Classic Flick, the wing comes straight off the outer corner and above the pupil. Tightline using a black kohl pencil and line the inner and outer third of the waterline using the same pencil. What really brings this eyeliner look together is the point in the inner corner. Using an ink-pen liner, extend the inner corner of the eye with a small triangle.
4. Rainbow Graphic Liner

This eyeliner look may seem intimidating, but it’s far easier than it looks. Take a white kohl pencil and draw whatever shape you want – it doesn’t have to be this one. To get the rainbow effect, press red, orange, yellow, green, blue, and purple eyeshadows into the white kohl liner. Clean up any imperfections with a Q-Tip and concealer. This eyeliner look is perfect for Pride!
5. Simple Dots

This eyeliner look is super modern and minimalistic. Put an eyeliner pencil down on the outer half of your upper lash line and smudge it out using a small brush or a Q-Tip. Repeat the process on the outer third of your lower lash line. Then, take an ink-pen liner and put a dot above the pupil and one below the pupil.
6. Green Graphic Liner

Graphic eyeliner looks are extremely trendy right now. This particular look uses a green ink-pen liner and a green kohl pencil, but you can use whatever colors you want. Begin by flicking your wing out from the outer corner of your eye. With graphic eyeliner looks, creativity is the name of the game. Experiment with different shapes to find what suits you best. I like to finish my eyeliner look off by connecting my lower lash line to my wing using a matching colored kohl pencil.
For a more bold green eyeliner look check our popular article on Christmas makeup looks – you’ll love them all!
7. Simple Bar

The is one of the easiest eyeliner looks out there. It goes well with a nude makeup or glass skin look. Take your ink-pen liner and place the tip of it at an angle against your upper eyelid. Then, simply drag it until you have a slightly winged shape. Finish the look off by lining the first half of your eye and connecting it to the shape you just drew.
8. The Underline

This eyeliner look is similar to the Straight Liner but without the inner corner point. Begin by taking your ink-pen liner and draw a line extending up and out from your lower lashline. Then, connect that line with your upper lash line to create a small wing. Then take a black kohl pencil and run it along the outer third of your lower lash line. Smoke it out with a small brush or Q-Tip. Feel free to tightline your upper lashline for extra drama. Out of all eyeliner looks, this one lifts up your eye almost giving an impression of having an under eye filler.
MEDICAL DISCLAIMER
This content is for informational and educational purposes only. It is not intended to provide medical advice or to take the place of such advice or treatment from a personal physician. All readers of this content are advised to consult their doctors or qualified health professionals regarding specific health questions. The publisher of this content does not take responsibility for possible health consequences of any person or persons reading or following the information in this educational content. All viewers of this content, especially those taking prescription or over-the-counter medications, should consult their physicians before beginning any nutrition, supplement, skincare product, or lifestyle program.
